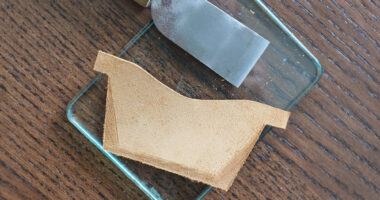
Burnishing is the process by which the rough and loose fibres at the edge of cut leather are compressed back into the leather to ensure a long-lasting and smooth finish to the product.
It is critical that you begin the burnish process by correctly preparing the leather edge. If you’re burnishing the edge of two (or more) pieces of leather which have been glued together ensure that bond is tight with the edges lightly hammered or compressed with a pair of leather pliers.

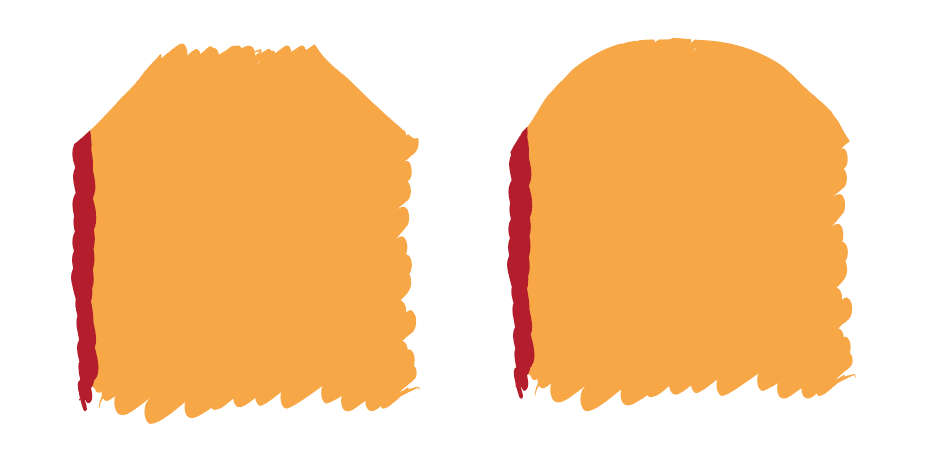
First, take 400 (or lower) grit sandpaper and sand the edge down with a sanding block until it is perfectly even and level. Then use an edge beveler to strip a thin line of leather off the corner of the edge removing the sharp 90-degree right-angle. Doing this ensures that the leather doesn’t mushroom out in an unsightly manner when pressure is applied with a burnisher.

Ideally we want a curved edge with no corners, so take a small piece of 400 grit sandpaper in your fingers and gently rub the edge down to curve the angles. Do the same with 800 grit sandpaper to remove smaller fibres and get the edge smooth to the touch.
Now the edge is ready for burnishing. You can burnish an edge with water, but a dedicated burnishing gum like Tokonole will produce much better results. Take a little bit of this mixture on the tip of your finger and dab it very lightly along the edge of the leather. Then, again using only your finger, gently rub it along the edge so that it soaks into the leather. Wipe off any excess that has creeped onto the leather surface.
Now take your burnisher and gently but swiftly rub it back-and-forth along the edge. This combination of heat with a little bit of pressure compacts down the natural fibres of the leather leaving a smooth and shiny edge. For softer leathers, it is advisable to use an electric burnishing tool like a Dremel with a burnisher attachment because hand burnishing naturally puts more downwards pressure on the leather and can affect its shape.
If you intend to dye the edge, then you should do so after it has been burnished. It may seem odd to dye the leather after the fibers have been packed down, but doing so allows for a much straighter line. You only need a small amount of dye to colour the narrow edge so it’s best to use a cotton bud or piece of sponge, rolling or brushing it along the edge until the dye has penetrated the leather.

If you want glass-like edges to your leather, you need to repeat the sanding (ideally using a progressively higher grit sandpaper), dyeing, and burnishing. For the burnishing, you should use a soft canvas or denim cloth for best results.
Finally, rub the edge with beeswax or paraffin wax (we use Columbus wax) and burnish vigorously with a high-quality canvas cloth until the wax is no longer visible and the edge has a pleasing glean.